Guide: Issuing credentials to RariMe
tip
If you still need to learn to issue Rarimo credentials, see Setting Up A Credentials Issuer.
After issuing Rarimo credentials, you need to serve them to the users. To do that, we'll integrate RariMe snap into your DApp.
Step #1: Add the RariMe connector
Install the RariMe connector package:
yarn add @rarimo/rarime-connector
Create a connector instance:
import { enableSnap } from '@rarimo/rarime-connector'

async function createConnector() {
  const snap = await enableSnap() // connects to the snap or installs it
  const connector = await snap.getConnector()

  return connector
}
Step #2: Prepare the claim offer
To fetch the credential from the issuer, we need to form a claim offer:
// get the claim type from your schema
const CLAIM_TYPE = 'urn:uuid:6dff4518-5177-4f39-af58-9c156d9b6309'
const ISSUER_DOMAIN = 'https://issuer.example.com'

const connector = await createConnector()
const { identityIdString } = await connector.createIdentity()
const { data: claimOffer } = await fetch(
  `https://${ISSUER_DOMAIN}/v1/credentials/${identityIdString}/${CLAIM_TYPE}`
).then((res) => res.json())
Step #3: Prompt user to save the credential to RariMe
Once we have the claim offer, we can prompt the user to save the credential to RariMe. To do that, we'll use the saveCredentials method of the connector instance:
await connector.saveCredentials(claimOffer)
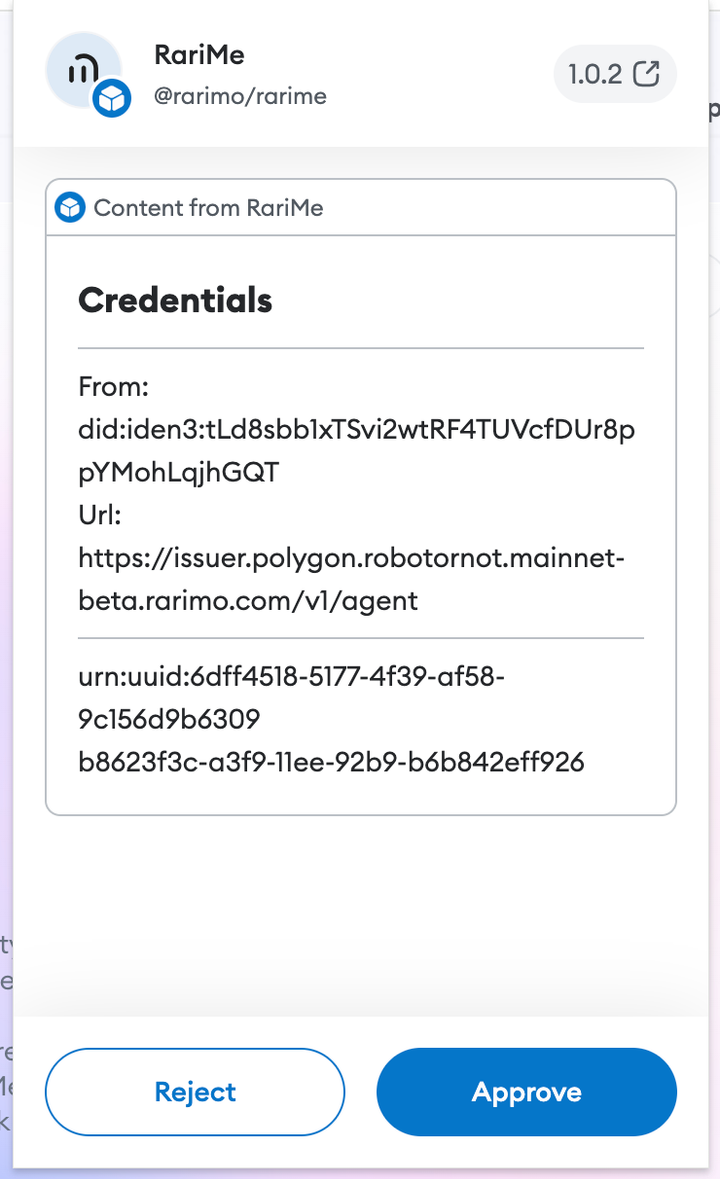
The user will be prompted to save the credential to RariMe:
tip
Keep the UX transparent: show the prompt only after the user explicitly clicks on the Add credential button or a similar UI element.